
Installing Kali Linux on VirtualBox (Windows 11)
Kali Linux is a powerful Linux distribution designed for cybersecurity and ethical hacking. Installing it on VirtualBox allows you to run Kali Linux in a virtual environment on your Windows 11 computer without affecting your main operating system. This setup is ideal for learning, testing security tools, and practicing penetration testing safely.
1. Enabling Virtualization
One common step that many users skip—and later encounter issues with—is enabling virtualization in the BIOS. Without this, VirtualBox or any other virtualization software cannot run properly.
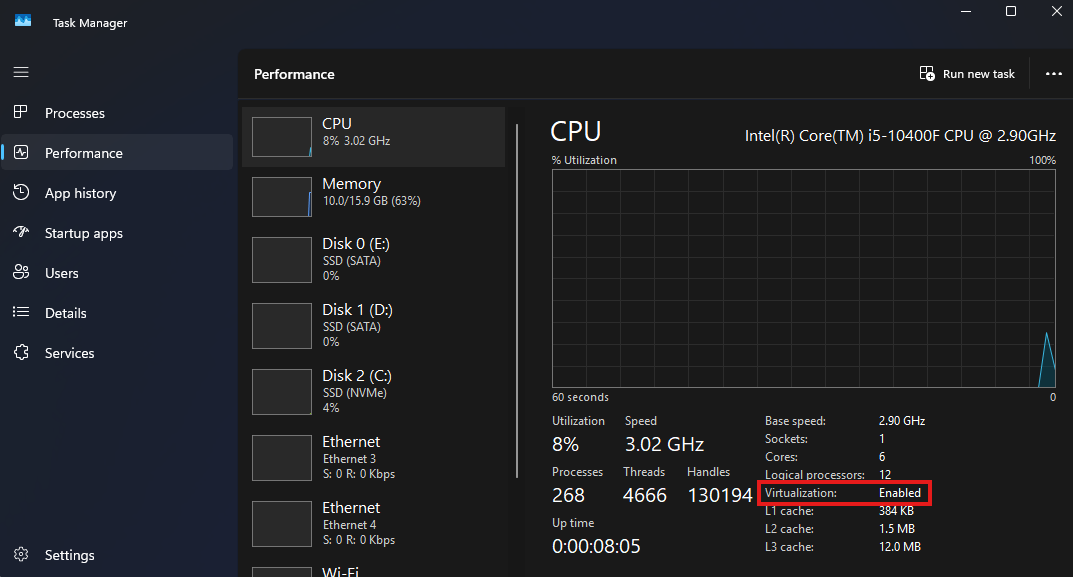
How to check if virtualization is enabled on Windows:
-
Open Task Manager (
Ctrl + Shift + Esc) -
Go to the Performance tab
-
Look for Virtualization in the bottom-right section
- Enabled → Virtualization is ready
- Disabled → You need to enable it in BIOS/UEFI
Tip: Virtualization settings are usually found under Advanced, CPU Configuration, or System Configuration in the BIOS/UEFI. Save changes and restart your computer after enabling it.
2. Disabling Secure Boot (Windows 11)
The VirtualBox Extension Pack may fail to install if Secure Boot is enabled, as Windows blocks unsigned kernel modules.
To fix this:
- Restart your computer and enter BIOS/UEFI
- Locate Secure Boot (under Boot or Security)
- Disable it, save changes, and restart Windows
3. Installing VirtualBox
Download the installer from the official website:
👉 https://www.virtualbox.org
Run the .exe file and keep the default settings, which include USB and networking support. You may see a warning about network interfaces being reset—click Yes to continue. When prompted by Windows, allow the installation via User Account Control (UAC). Once completed, launch VirtualBox from the Start menu.
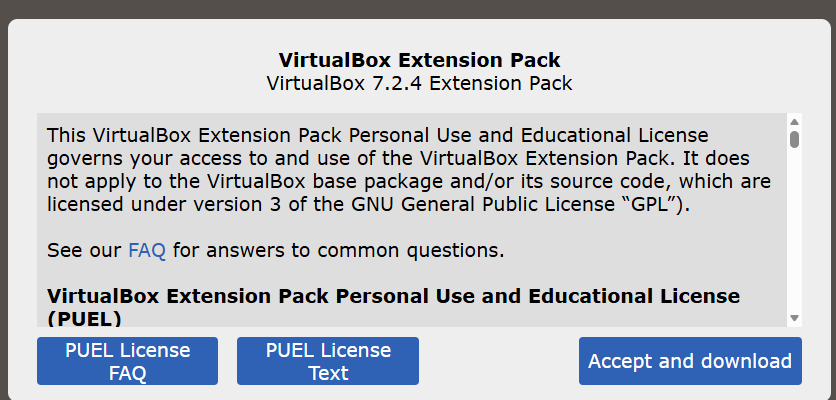
4. Installing the VirtualBox Extension Pack
To enable features such as shared clipboard, drag-and-drop, and USB 3.0 support, install the VirtualBox Extension Pack.
- Visit the VirtualBox Downloads page
- Download the Extension Pack matching your VirtualBox version
- Open VirtualBox and click the second button below the Home button

- Click Install, select the downloaded Extension Pack file, and press Open
- Accept the terms and conditions
If the Active column shows a ✅, the Extension Pack is installed successfully.

5. Downloading Kali Linux ISO
- Go to https://www.kali.org and click Download
- Navigate to Installer Images
- Download the Installer ISO (not the pre-made VirtualBox image)

The Installer version provides more customization options during installation.
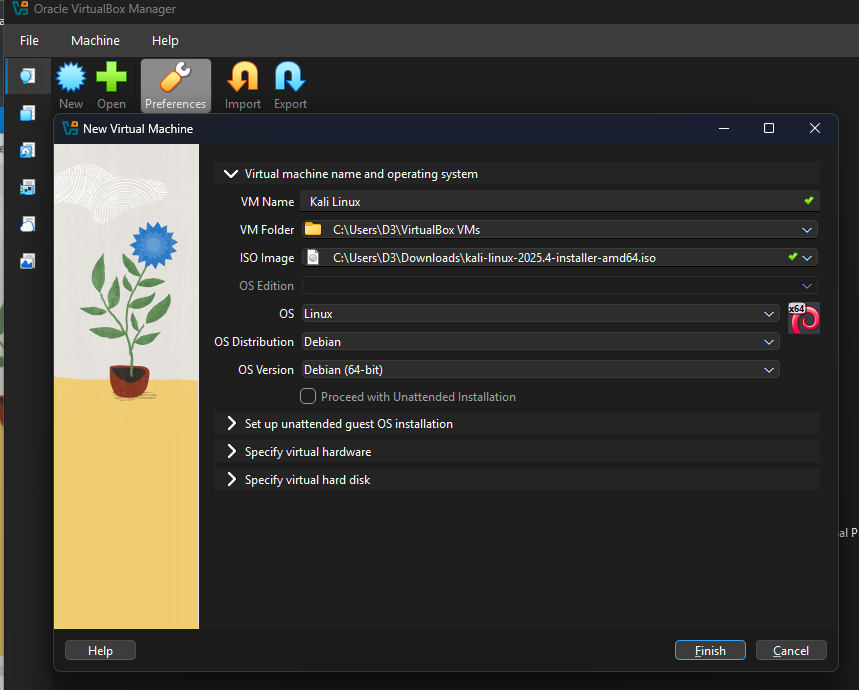
6. Loading Kali Linux ISO in VirtualBox
- Open VirtualBox and click New
- Enter a VM Name of your choice
- Select the downloaded Kali Linux ISO
- Set Type to
Linux - Set Version to
Debian (64-bit)
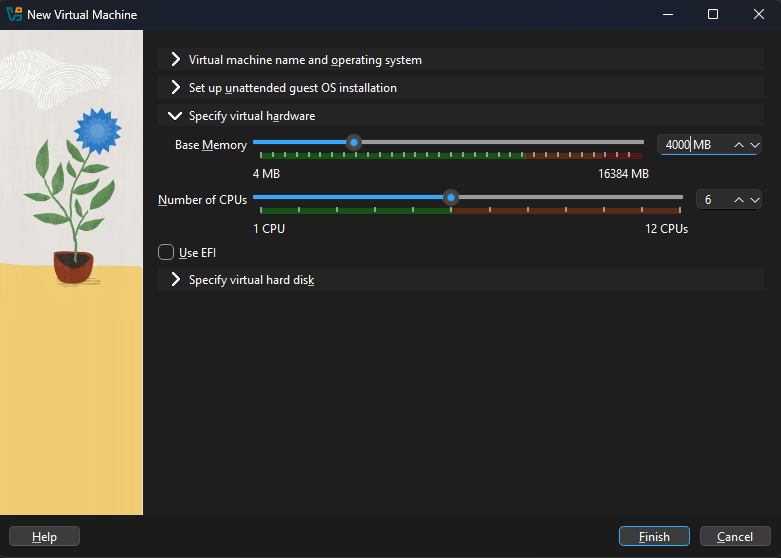
Virtual Hardware Configuration
Click Specify Virtual Hardware:
- RAM:
- Minimum: 2 GB
- Recommended: 4 GB
- Do not allocate more than half of your system RAM
- CPU:
- If you have 12 CPU cores, assigning 6 CPUs is ideal
- This ensures good performance while keeping the host system responsive
Virtual Hard Disk
- Minimum required: 25 GB
- Recommended: 50 GB for smoother usage
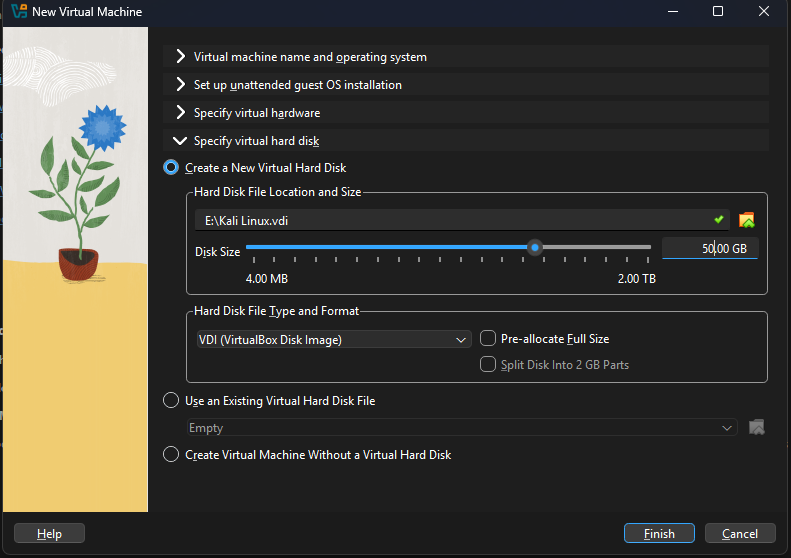
Click Finish to create the VM.
VM Settings Optimization
Before starting the VM:
- Go to Settings → General → Features
- Set both Shared Clipboard and Drag-and-Drop to Bi-Directional
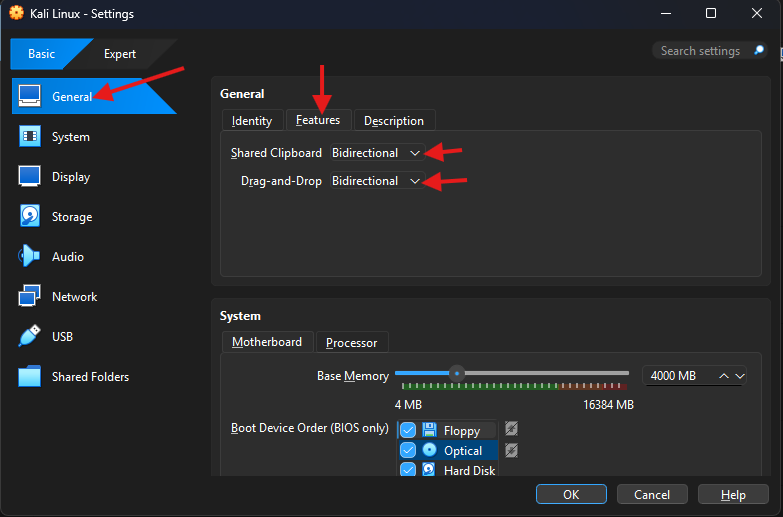
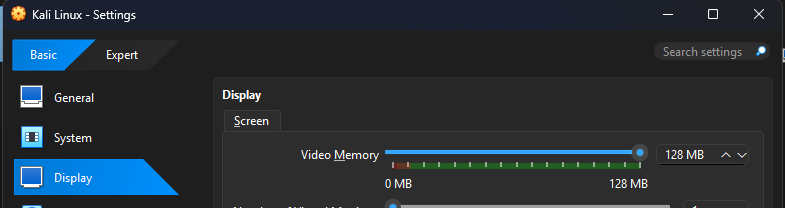
- Go to Display and set Video Memory to the maximum value
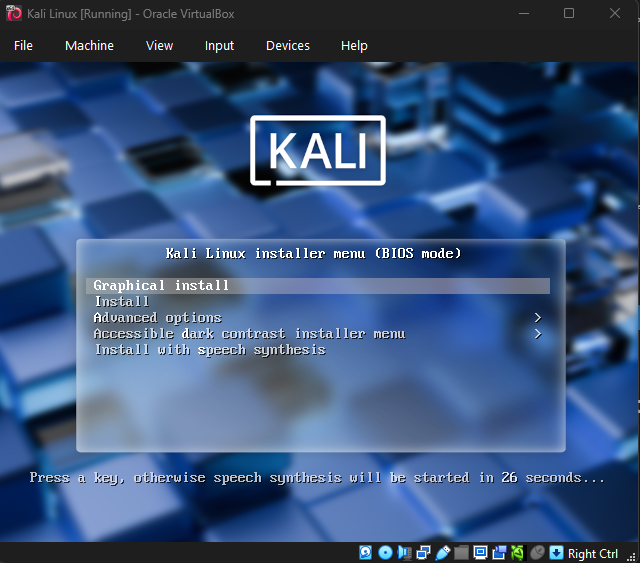
7. Installing Kali Linux
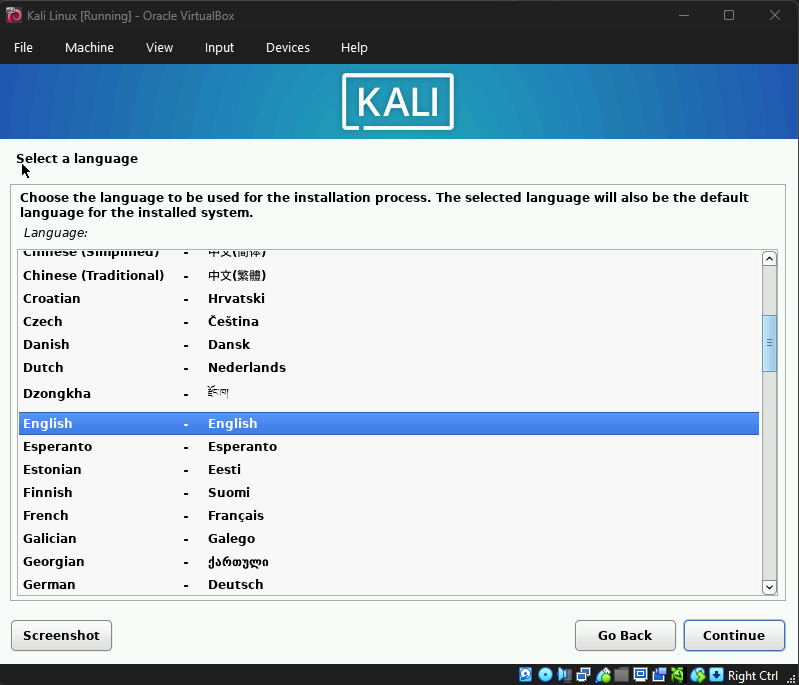
- Press Enter on Graphical Install
- Select Language
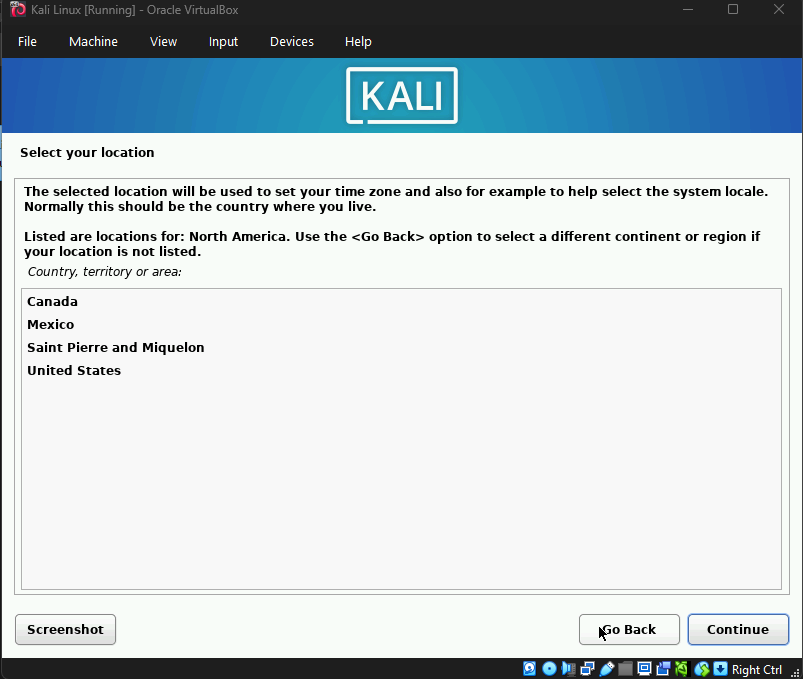
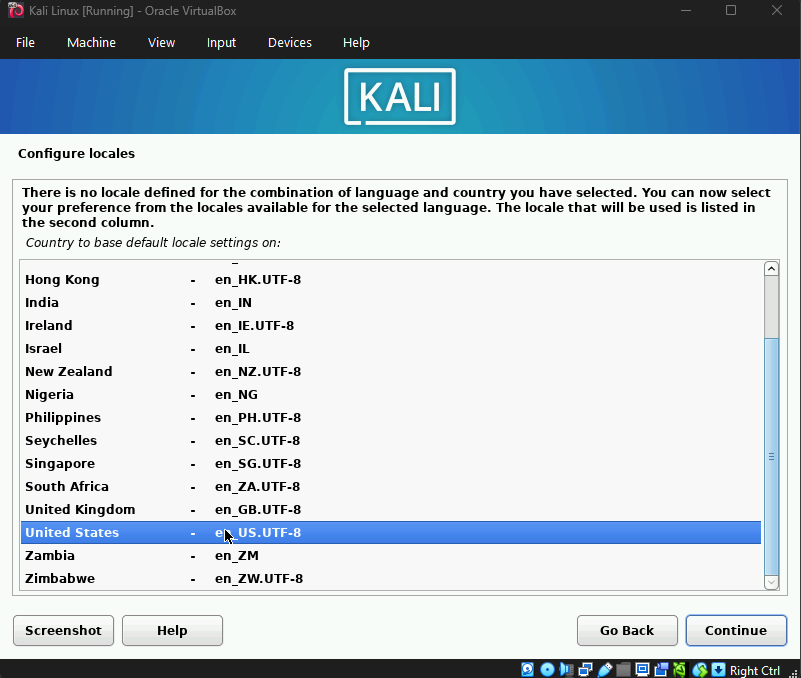
- Select Location
- Select Keyboard Layout
- Enter a Hostname (any name)

- Leave Domain Name blank (unless required for a business network)

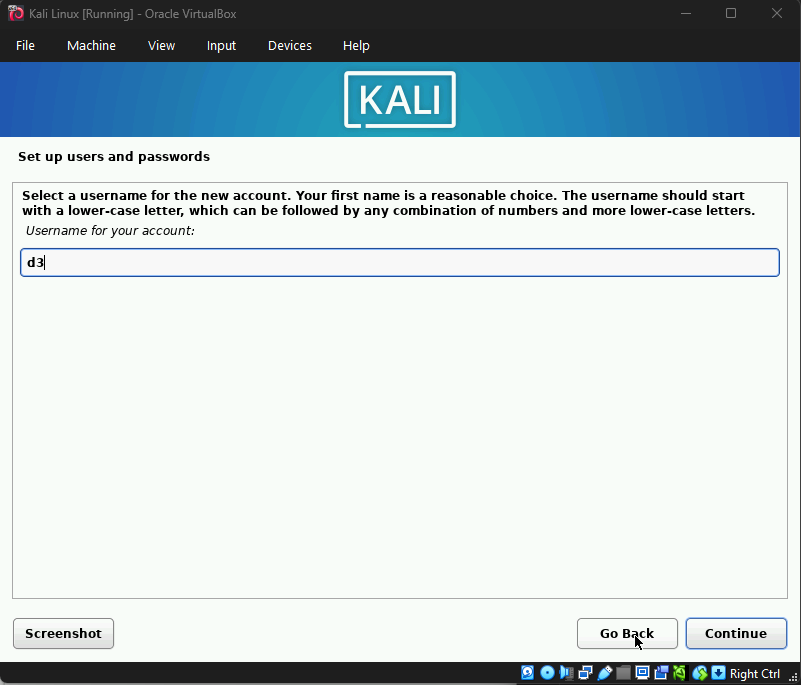
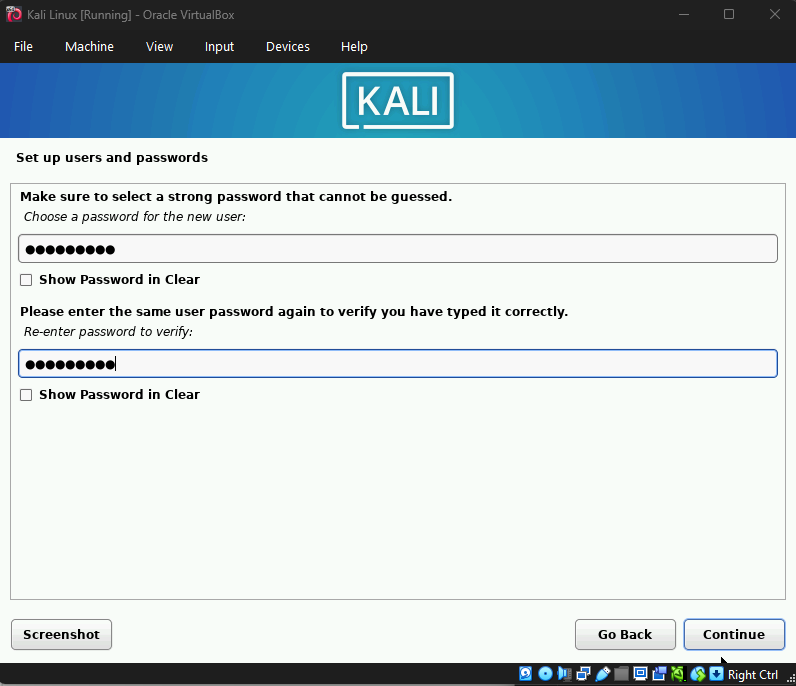
- Create a Username
- Set a Password
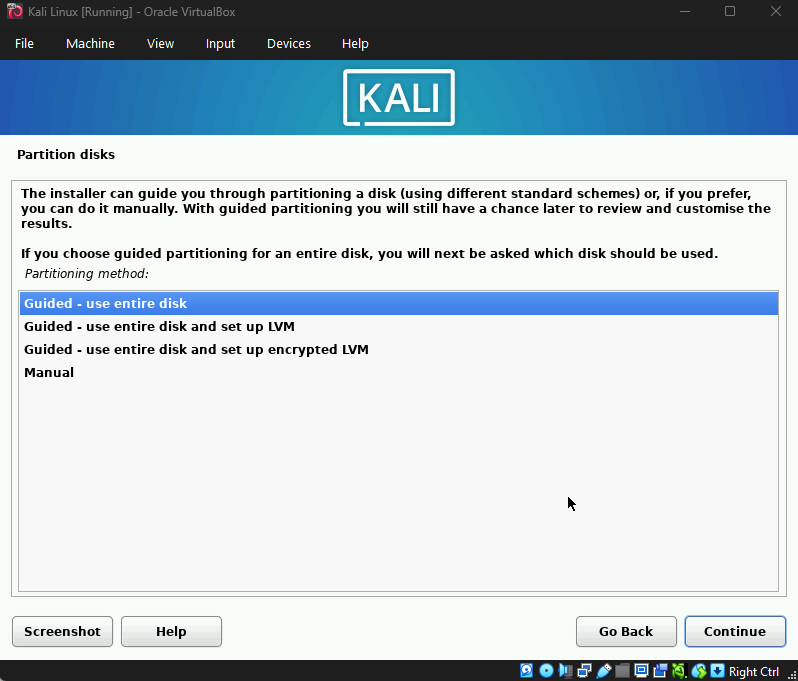
Disk Partitioning
- Select Guided – use entire disk
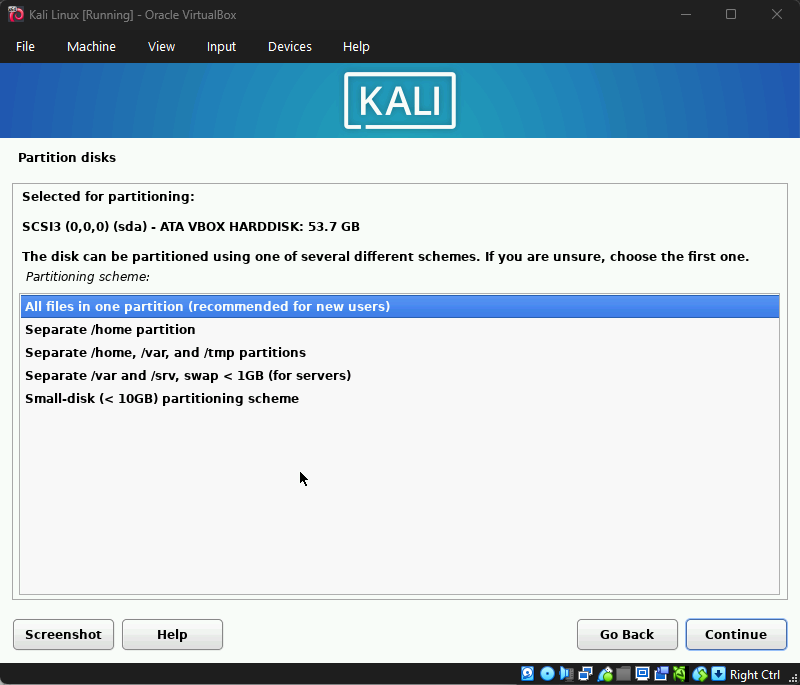
- Choose All files in one partition
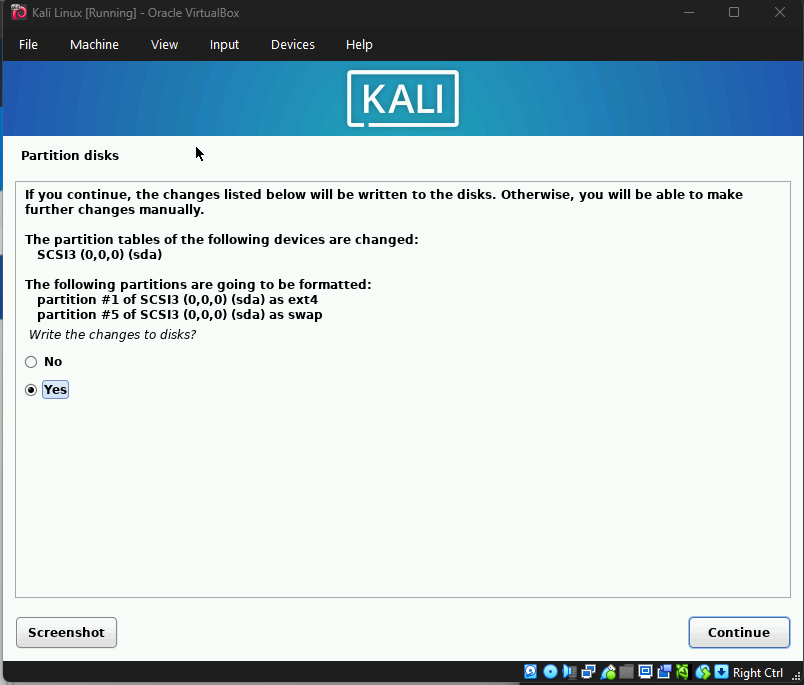
- Select Finish partitioning and write changes to disk
- Confirm by selecting Yes

Kali will now install the base system.
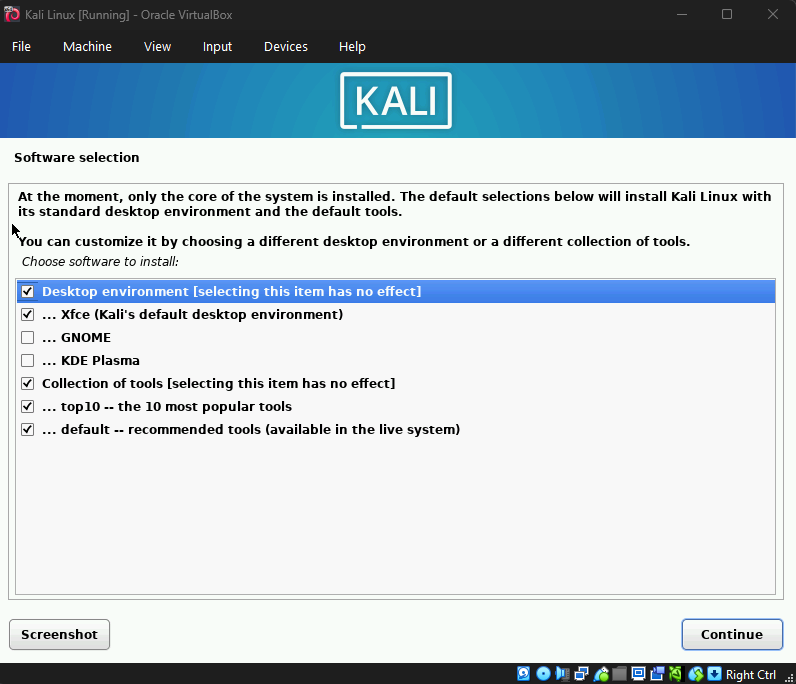
When prompted for Software Selection, keep the default options.
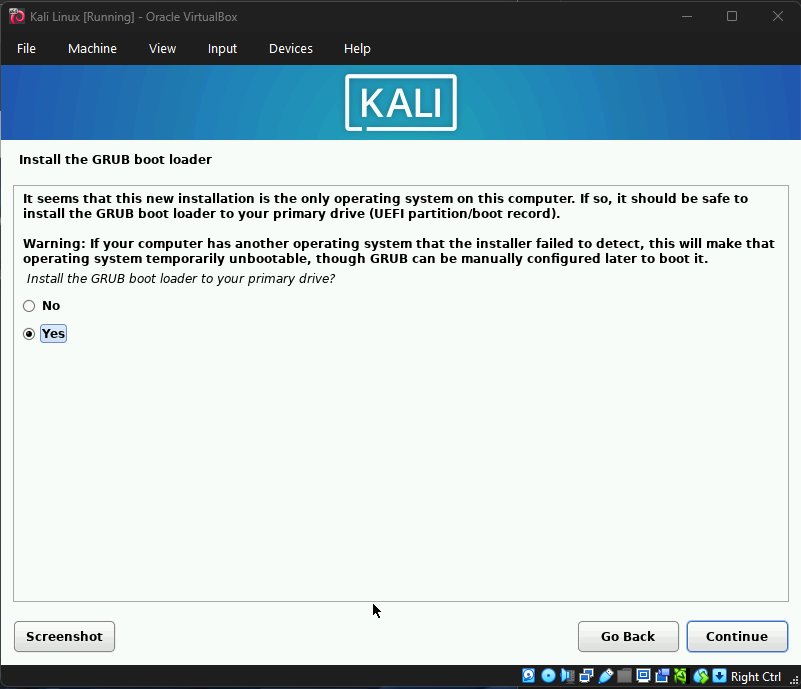
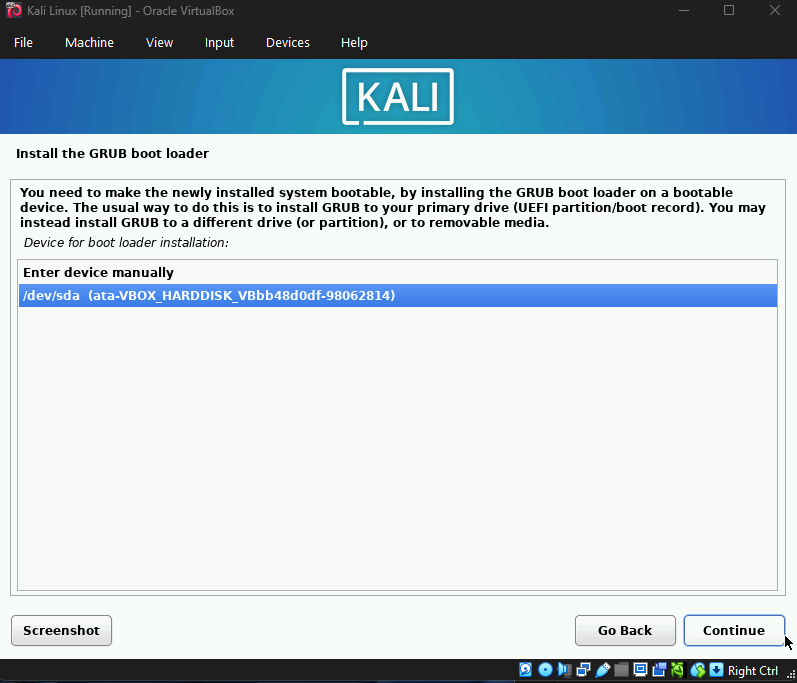
Proceed with bootloader installation and select the virtual hard disk.
Setting Up Kali Linux
After installation, the VM will reboot. Log in using the username and password you created.
Open a terminal and update the system:
sudo apt update && sudo apt upgrade -y

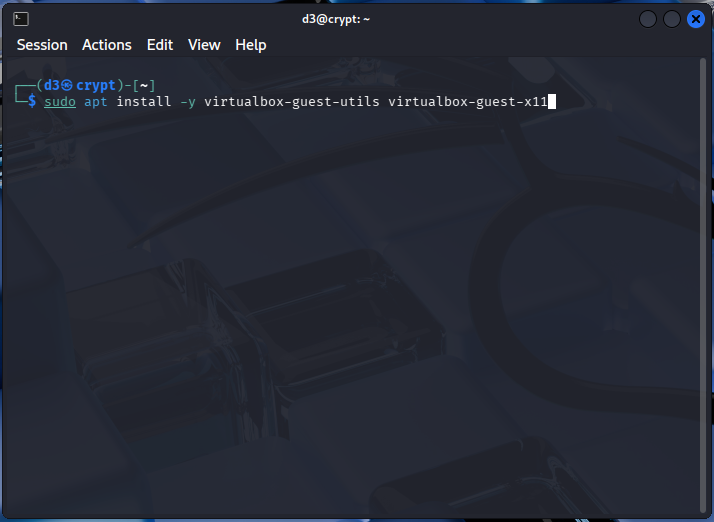
Install VirtualBox Guest Additions to improve display, clipboard, and performance:
sudo apt install -y virtualbox-guest-utils virtualbox-guest-x11
Reboot the VM once installation is complete.
✅ Kali Linux is now fully set up and ready to use.